因比较熟悉Jetbrains家的各种IDE,故探索如何使用 AppCode 开发 iOS,使用 SwiftUI 如何预览
下载AppCode
官网下载,安装。安装完成后根据SwiftUI 配置引导 进行。
创建基于 SwiftUI 的 iOS 项目
下载 InjectionIII 工具
Github下载地址。安装

配置项目
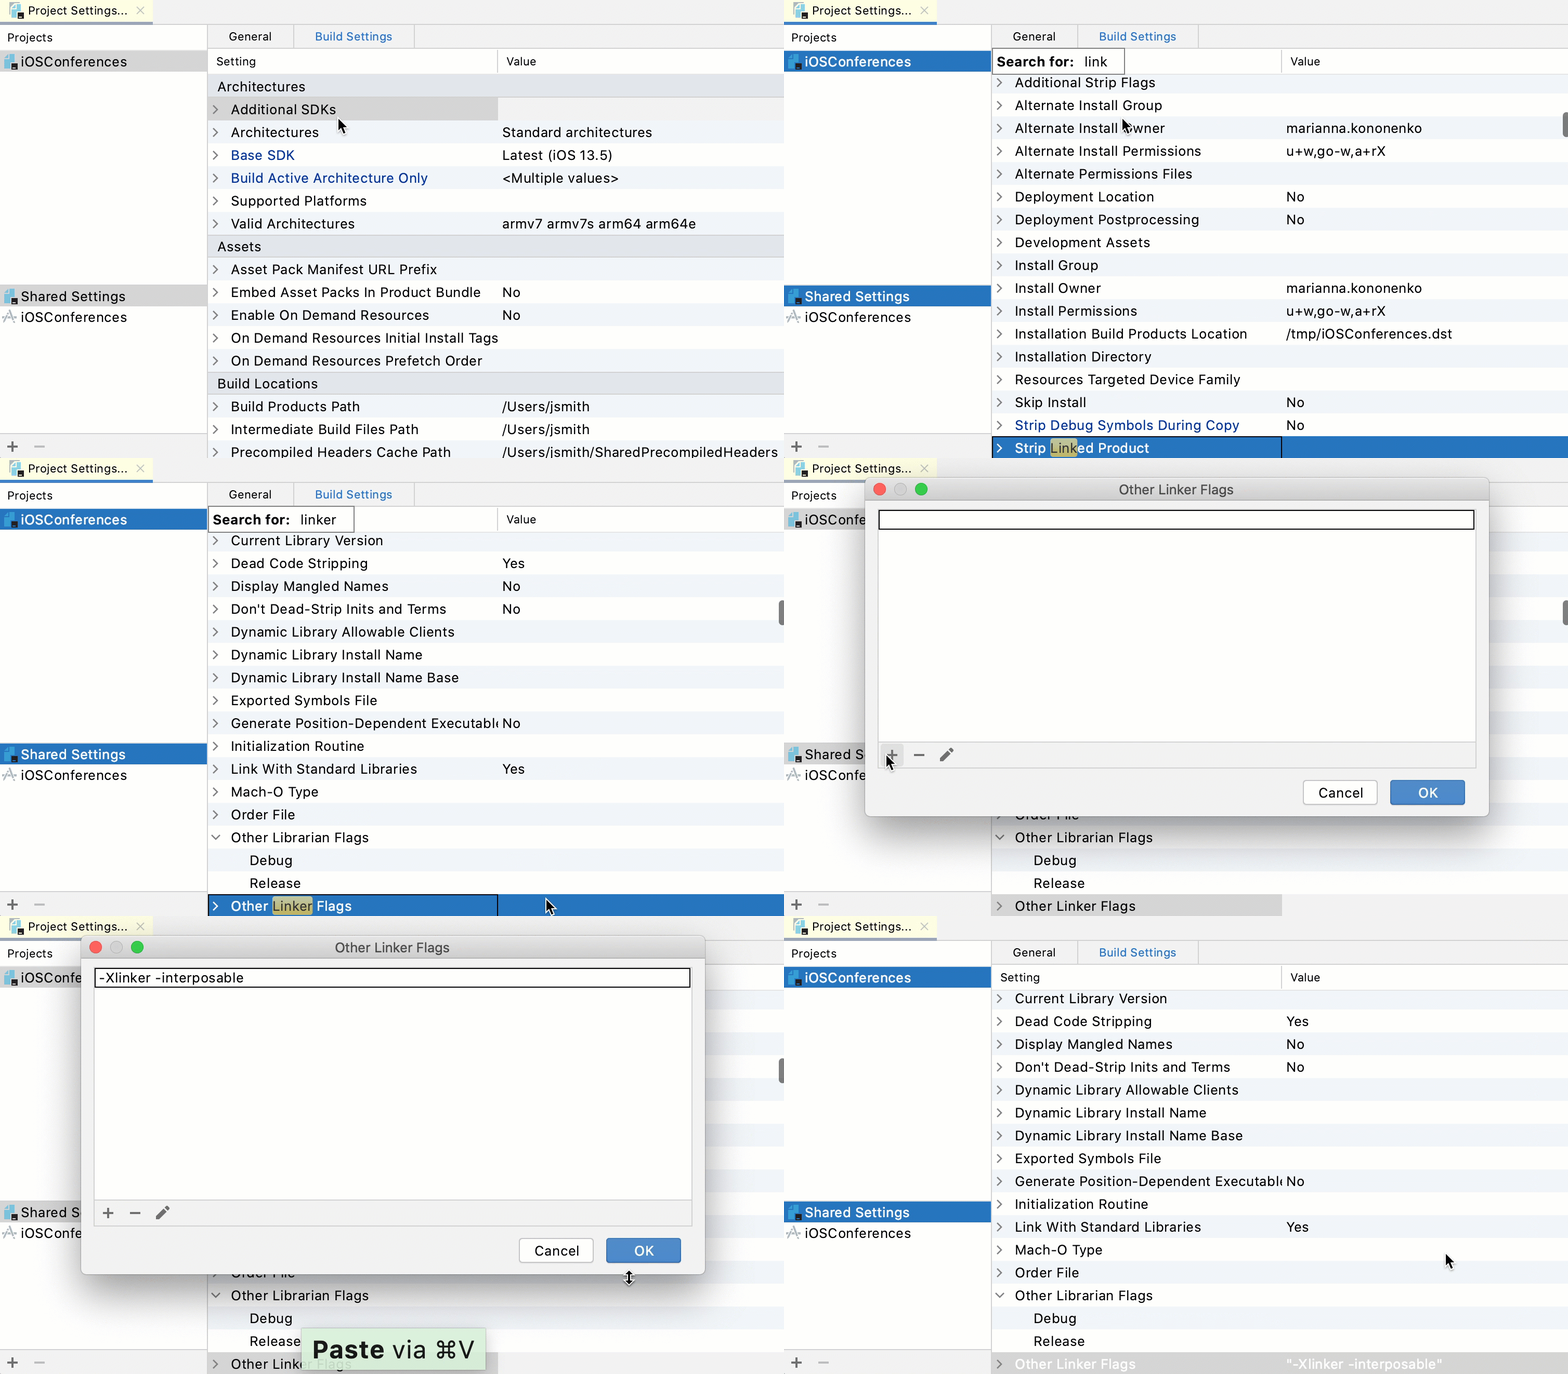
快捷键 ⌘; 打开项目设置,找到 Other Linker Flags,然后添加 -Xlinker -interposable

- 代码配置
1
2
3
4
5
6
7
8
9
10
11
12
13
14
15
16
17
18
19
20
21
22
23
24
25
26
27
28
29
30
31
32
| import SwiftUI
import UIKit
class AppDelegate: NSObject, UIApplicationDelegate {
func application(_ application: UIApplication, didFinishLaunchingWithOptions launchOptions: [UIApplication.LaunchOptionsKey: Any]?) -> Bool {
#if DEBUG
var injectionBundlePath = "/Applications/InjectionIII.app/Contents/Resources"
#if targetEnvironment(macCatalyst)
injectionBundlePath = "\(injectionBundlePath)/macOSInjection.bundle"
#elseif os(iOS)
injectionBundlePath = "\(injectionBundlePath)/iOSInjection.bundle"
#endif
Bundle(path: injectionBundlePath)?.load()
#endif
return true
}
}
@main
struct iOSConferencesApp: App {
@UIApplicationDelegateAdaptor(AppDelegate.self) var appDelegate
var body: some Scene {
WindowGroup {
ContentView()
}
}
}
|
- 在预览
1
2
3
4
5
6
7
8
9
10
11
12
13
14
15
|
class ContentView_Previews: PreviewProvider {
static var previews: some View {
ContentView()
}
#if DEBUG
@objc class func injected() {
UIApplication.shared.windows.first?.rootViewController =
UIHostingController(rootView: ContentView())
}
#endif
}
|
完成!
欢迎和我一起交流学习
文章来自: http://hanks-zyh.github.io/

