Don’t be a tool, use
the tools.
创建XML文件,IDE自动添加了 tools命名空间
xmlns:tools="https://schemas.android.com/tools"
tools可以告诉IDE,哪些属性在运行的时候是被忽略的,只在设计布局的时候有效。
tools可以覆盖android的所有标准属性,将android:换成tools:即可,同时在运行的时候就连tools:本身都是被忽略的(不会编译到apk)。
栗子:
<TextView
    android:id="@+id/text_main"
    android:layout_width="match_parent"
    android:layout_height="wrap_content"
    android:textAppearance="@style/TextAppearance.Title"
    android:layout_margin="@dimen/main_margin"
    tools:text="I am a title" />
不用再去使用android:text=“” 实时布局效果查看了,也不用再查看过效果后去删除了,使用tools:text预览效果,运行时不进入打包的apk
-----------------------------------------------------------------------------------------------------------------------------------------------------------------------------------------------------------------------------
tools属性的种类
tools属性可以分为两种:一种是影响Lint提示的,一种是关于xml布局设计的。以上介绍的是tools的最基本用法:在UI设计的时候覆盖标准的android属性,属于第二种。
下面介绍Lint相关的属性。
Lint相关的属性
tools:ignore
tools:targetApi
tools:locale
tools:ignore
tools:ignore
告诉Lint忽略xml中的某些警告。
假设我们有这样的一个ImageView
<ImageView android:layout_width="wrap_content" android:layout_height="wrap_content" android:scaleType="center" android:src="@android:drawable/ic_delete" /Lint会提示该ImageView缺少android:contentDescription属性。我们可以使用tools:ignore来忽略这个警告:
<ImageView
    android:layout_width="wrap_content"
    android:layout_height="wrap_content"
    android:scaleType="center"
    android:src="@android:drawable/ic_delete"
    tools:ignore="contentDescription" />
tools:targetApi
假设minSdkLevel 15,而你使用了api21中的控件比如RippleDrawable<ripple xmlns:android="https://schemas.android.com/apk/res/android"
android:color="@color/accent_color" />
则Lint会提示警告。
为了不显示这个警告,可以:
<ripple xmlns:android="https://schemas.android.com/apk/res/android"
    xmlns:tools="https://schemas.android.com/tools"
    android:color="@color/accent_color"
    tools:targetApi="LOLLIPOP" />
tools:locale(本地语言)
默认情况下res/values/strings.xml中的字符串会执行拼写检查,如果不是英语,会提示拼写错误,通过以下代码来告诉studio本地语言不是英语,就不会有提示了。
<resources
    xmlns:android="https://schemas.android.com/apk/res/android"
    xmlns:tools="https://schemas.android.com/tools"
    tools:locale="it">

    <!-- Your strings go here -->

</resources>
ps:关于忽略Lint的属性,如果不想了解的话也没关系,因为并不影响编译,一般我都不会管这些警告。
UI相关属性
tools:context
tools:menu
tools:actionBarNavMode
tools:listitem/listheader/listfooter
tools:showIn
tools:layout
tools:context
context属性制定xml布局对应的Activity,IDE就知道在预览布局的时候该采用什么样的主题。
It can also help the Go to Related files intention in Android Studio, even though it has become pretty clever at figuring stuff out by itself.
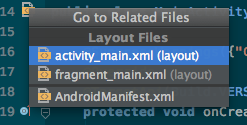
<LinearLayout
    xmlns:android="https://schemas.android.com/apk/res/android"
    xmlns:tools="https://schemas.android.com/tools"
    android:id="@+id/container"
    android:layout_width="match_parent"
    android:layout_height="match_parent"
    android:orientation="vertical"
    tools:context="com.android.example.MainActivity">
    <!-- ... -->
</LinearLayout>
tools:menu
告诉IDE 在预览窗口中使用哪个菜单,这个菜单将显示在layout的根节点上(actionbar的位置)。
其实预览窗口非常智能,如果布局和一个activity关联(指上面所讲的用tools:context关联)它将会自动查询相关activity的onCreateOptionsMenu方法中的代码,以显示菜单。而menu属性则可以覆盖这种默认的行为。
你还可以为menu属性定义多个菜单资源,不同的菜单资源之间用逗号隔开。tools:menu="menu_main,menu_edit"
如果你不希望在预览图中显示菜单则:tools:menu=""
最后需要注意,当主题为Theme.AppCompat时,这个属性不起作用。
tools:actionBarNavMode
这个属性告诉IDE app bar(Material中对actionbar的称呼)的显示模式,其值可以是standard,tabs,list<LinearLayout xmlns:android="https://schemas.android.com/apk/res/android" xmlns:tools="https://schemas.android.com/tools" android:orientation="vertical" android:layout_width="match_parent" android:layout_height="match_parent" tools:actionBarNavMode="tabs" />
同样的,当主题是Theme.AppCompat (r21+, at least) 或者Theme.Material,或者使用了布局包含Toolbar的方式。 该属性也不起作用,只有holo主题才有效。
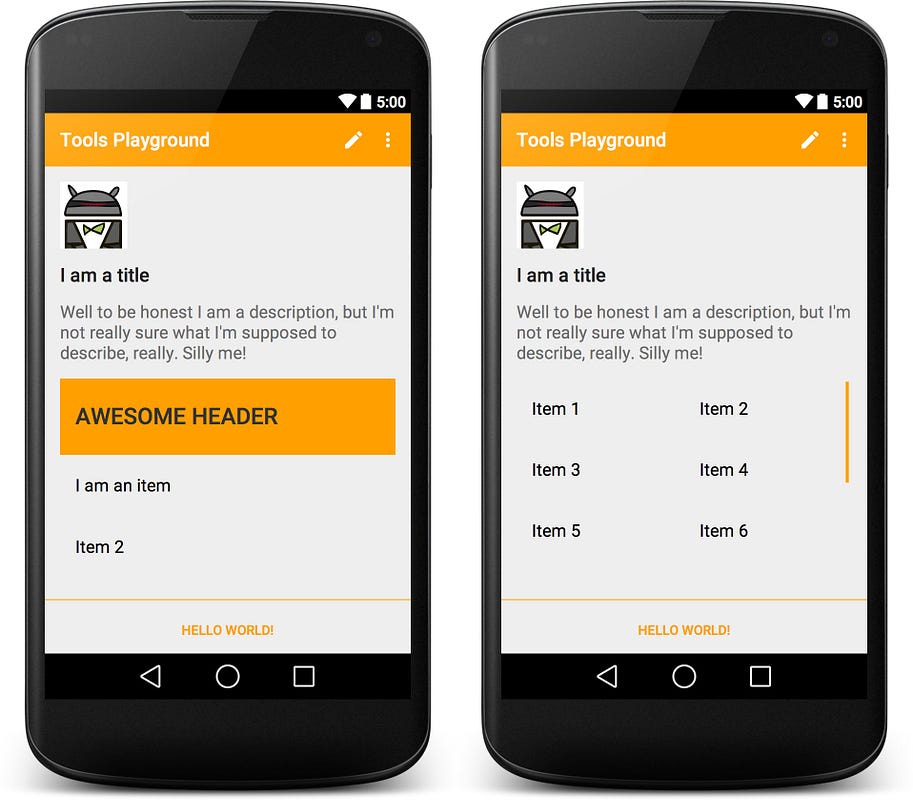
tools:listitem, listheader 和listfooter
就是在ListView ExpandableListView等的预览效果中添加头部 尾部 以及子item的预览布局。但是注意:header 和 footer不能设置给GridView ,只有listitem可以被设置

tools:layout
tools:layout告诉ide,Fragment在程序预览的时候该显示成什么样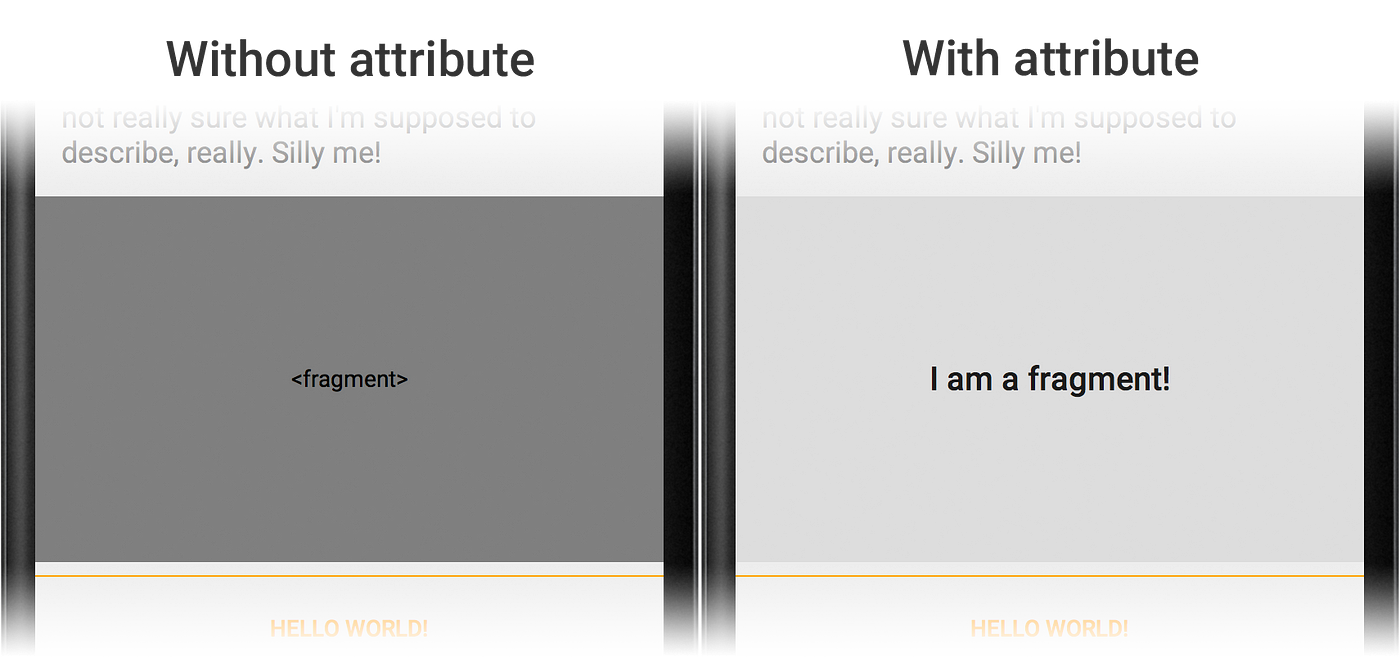
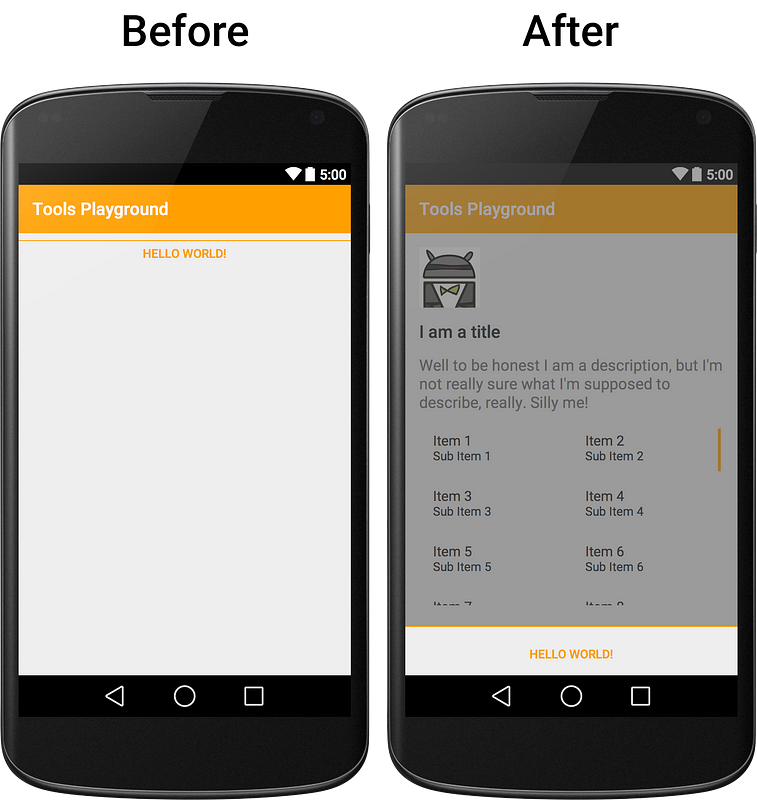
tools:showIn
<merge xmlns:android="https://schemas.android.com/apk/res/android"
    xmlns:tools="https://schemas.android.com/tools"
    android:layout_width="match_parent"
    android:layout_height="match_parent"
    tools:showIn="@layout/activity_main">
Don’t be a tool, use the tools.
参考:
https://medium.com/sebs-top-tips/tools-of-the-trade-part-1-f3c1c73de898
https://medium.com/sebs-top-tips/tools-of-the-trade-part-2-b91271892d10